
Originlly Posted on http://www.theyummylife.com/Natural_Room_Scents
Don't miss my follow-up post to this one with
NATURAL ROOM SCENTS FOR DIY GIFTS & CENTERPIECES
CLICK HERE
This post was featured in the April 2013 issue of Woman's Day magazine.
Here's the thing. I'm married to a man who hates artificial scents of
any kind. That goes for air fresheners, candles, perfume, soaps and
anything else that is scented. We buy unscented
everything. I could probably buy a car with the money I've saved on perfume throughout the years of our marriage.
Turns out that King-Man may just be ahead of his time. I've recently been reading about air fresheners and their harmful ingredients. Many of them are especially hard on people with allergies and asthma. One more thing to stay away from.
But, the air in my house gets stale sometimes. Or, the day after I've
cooked with garlic, that aroma that was so appealing when I was cooking
becomes very unpleasant. I want to walk into my house and have it smell
pleasant. Nothing overpowering or even that noticeable. Just pleasant.
There is a simple, all natural, truly lovely solution. That is to
fill the air in my home with subtle scents of spices, herbs, and fruit.
All I have to do is simmer some sweet smelling ingredients in water. The
steam fills the air with a pleasant scent. Truth is, I did this many
years ago on the advice of our realtor when we were selling our house.
Realtors often advise sellers to bake cookies or boil cinnamon water
right before a potential buyer drops by. That inviting aroma goes a long
way to leave a good first impression. Why I didn't continue scenting
the air in a similar way for our own enjoyment, I don't know.
I've now got a simple routine going that keeps our house smelling pleasant without staleness or day-after garlic odor.
Keeping the supply list simple. I only used items
available at the grocery store or in my yard for these scent recipes. I
want this to be easy and inexpensive so that I can set up a sustainable
routine of pleasantly scenting our home. These recipes are simply
guidelines and don't have to be followed exactly. In fact, I change them
up all the time based on what I have on hand in my kitchen or yard.
How to Make Natural Room Scents
Fragrant items for naturally scenting your home:
- citrus -- I've tried other fruits. Some of them smell good
initially, but they don't hold up for more than one use. Citrus is
sturdier, longer-lasting, and gives these scent recipes freshness.
Lemons and oranges are particularly fragrant and have the best staying
power in these scented waters.
- herbs -- Any herb can be used for making a room scent, but the ones
that are sturdier and on woody twigs hold up the best. My favorites for
room scents are rosemary and thyme.
- pine or cedar twigs/needles -- There may be other fragrant trees
that will work, too; pine and cedar are the two I've tried for their
appealing, fresh fragrance.
- extracts -- A touch of vanilla or almond extract improves most room
fragrance mixtures. Mint extract has a nice fresh scent. You can also
use whole vanilla beans instead of vanilla extract; pricey but amazingly
fragrant. Amazon has a good bulk price (80% less than grocery store prices).
- spices -- You can use ground or whole sweet spices. The whole spices
look prettier, if your scented water will be in a location where it
will be seen. I have found that cinnamon sticks and whole cloves have
the most scent staying power. Cinnamon sticks can be rinsed off and
reused several times. They keep on giving.
 Five Natural Room Scent Recipes
These are all
scents that my nose likes. But, scents that are pleasing to one person
may not be to someone else. Consider how many different scents of
perfumes, soap, and candles there are in stores in an effort to appeal
to the masses. So, use my recipe combos as guidelines that you can tweak
and customize to suit what
your nose likes.
General procedure: Combine the ingredients in a 2
cup (pint) jar or container, or in a pan on the stove top. Cover them
with water and heat. I'll explain different heating options further
down. Keep reading.
Scent #1: Oranges, cinnamon & cloves (allspice
and anise are optional). This is my favorite, both for it's wonderful
aroma and for it's staying power. This scent carries into multiple rooms
better, and it can be reheated to scent your rooms for several days.
 Scent #2:
 Lemon, rosemary, & vanilla. A similar
scented water is often simmering in Williams-Sonoma stores. It has a
lovely freshness to it.
 Scent #3:
 Lime, thyme, mint & vanilla extract.
This combination has such a fresh, pleasant scent. I initially made it
without the mint extract, but have found that it really kicks up the
aroma.
 Scent #4:
 Orange, ginger (fresh or powdered), and almond extract. This is a sweet, delicious scent.
 Scent # 5:
 Pine or cedar twigs (or other fragrant
twigs), bay leaves, and nutmeg. These scents combine for a complex
aroma. If you have whole nutmeg, use a microplane to grate off the outer
surface--this will release the scent. Add the whole nutmeg piece along
with the gratings.
 Here's the gang of five.
 Aren't they beautiful? I
like to make these up in pint jars and keep them on hand in the fridge
so I'm ready to start a pot of simmering scents as needed.
 Make ahead and...
- ...store in the fridge. Uncooked jars of scented
waters will keep in the fridge for 1 to 2 weeks, so you can make these
ahead to have on hand. I recommend adding all of the ingredients,
including the water, to the jars before refrigerating them. I've tried
refrigerating the fruit/spice/herb combos in jars without the water, but
they don't last as long that way.
- ...freeze them. I've tried freezing them both with
and without the water added, and both ways work fine. I haven't tested
them in the freezer longer than 2 weeks, but I'm confident that they can
be frozen for a month or longer. Make sure you use freezer-safe jars
like these pint wide-mouth mason jars. (Not all mason jars are freezer-safe.)
How to heat the scented mixtures
I've tried a variety of methods, and all of these work to varying
degrees. Some of them provide a more powerful scent than others. Just
like the air fresheners you buy, none of these will scent a whole house;
but I'll show you some ways to set up individual scent sources in
multiple rooms. Hopefully you already have what you need to try out one
or more of these options.
Stove top method. This is by far the best way I've
found to get the most powerful scent that will spread to more rooms the
fastest. It's easy as can be. Simply combine the ingredients in a pot on
the stove, bring them to a boil, and then lower the heat to a simmer.
They will immediately begin to scent your kitchen and spread to other
rooms. How far the scent spreads depends on the size and layout of your
house. A simmering pot like this makes all four rooms on our first floor
smell good. The only drawback of this method is that you have to keep a
close eye on the water level. If the pan dries out, you'll be smelling
burned citrus instead of sweet, fragrant citrus.
NOTE: For a stronger scent, simply double or triple the recipe in a larger pot on the stove.
 Uncovered Slow Cooker Method.
 This is my personal
favorite. I use a mini slow cooker--the kind made for keeping dips and
sauces warm. Mine only has one low heat setting. The mixture never
actually bubbles and visibly steams. I leave it uncovered on my kitchen
counter to slowly release scent throughout the day. It's subtle, but
creates a pleasant smell in my kitchen and a hint of scent in
surrounding rooms. When I'm home, I keep my mini slow cooker going. It's
easy and uses very little electricity. When I fill mine in the morning,
it won't dry out for an entire day. If you're concerned about
accidentally letting it run dry, you can put a lamp timer on it so that
it automatically shuts off at the desired time. I put a scented jar
mixture in the microwave for 2 minutes to get it really hot before I add
it to the slow cooker. That gives it a jump start on releasing the
scent.
NOTE: For a stronger scent, simply double or triple the recipe in a larger, full-size slow cooker and set it on high.
♦
16 oz. mini slow cooker --holds
a single batch--compact & economical--removable insert for easy
cleaning; this is the size I use for regularly simmering scented water
in my kitchen and is a great size for gift giving, too.
♦
1-1/2 qt. small slow cooker --holds double or triple batch--removable insert for easy cleaning; the larger size doesn't have to be refilled as often.
♦
on-off lamp timer --for auto shut-off
 Fondue Pot Method.
 If you have a fondue pot, then
you have a portable scent station. Set it up in any room you'd like to
scent. Below is a small ceramic fondue pot I have that uses a tea light
for heat. So, this will only remain warm as long as the candle
lasts--3-1/2 to 4 hours. Like the slow cooker, this is a low level of
heat and releases a very subtle scent--enough for a small room. Get the
scent mixture boiling hot before adding it to the fondue pot. I like to
set this up in our entry way when we have guests. It makes it smell
wonderful when you walk through our front door. And, it looks pretty.
 Mug Warmer Method.
 I normally keep this little mug
warmer next to my computer to keep my coffee and tea warm. I've
discovered it also can be used to keep a jar or small bowl of scent
mixture warm. It only keeps it warm, it doesn't actually heat it up. So
again, be sure to heat the mixture before adding it the bowl. Or
microwave a jar and set it right on top of the mug warmer. This low heat
puts off a soft, subtle scent that is suitable for a small area like a
bathroom.
- Here's a hint to keep it pretty. As the
mixtures cook and lose their color, they're not as attractive. You can
spruce it up by floating a fresh slice of citrus on top. Or add a few
cranberries (I keep a bag of them in my freezer); they float and add a
touch of color.
 Candle Warmer Method.
 These work just like the mug
warmers. Candle warmers come with a little bowl on top for melting
scented candle pellets. Instead, you can add some heated scented water.
Or, remove the bowl and set a jar or other bowl on top.
- Note: I tested the temperatures of these with a thermometer. The mug
warmer and candle warmer both kept the mixture at about 120°F. That's
enough to let off a very subtle scent in a small area or room, but don't
expect these to strongly scent a big room. You need more heat and steam
for a stronger scent.
 Tea Pot Warmer Method.
 My tea pot warmer also uses
tea lights. I can put two or three tea lights in mine to achieve the
temperature I want. These only last as long as the tea lights burn, but
they can get hotter than the mug and candle warmers, thus releasing more
scent. I can put a bowl or jar on top of my tea pot warmer, as long as I
put it somewhere that I can keep an eye on it. I don't like to leave
candles unattended.
 Add more hot water as needed.
 As the water
evaporates from any of these warming bowls or jars, top it off with
additional HOT water. It needs to be hot when it's added so that it
doesn't cool down the temperature of the scented water. Higher heat =
more fragrance.
Gift them! These make a fun, unique hostess gift.
Take one along to a party as a gift for your host that can be simmered
and enjoyed the next day.
Reuse each mixture 2-3 times. After these have been
heated and simmered for awhile, the water becomes cloudy (as you can see
in the jars below), and some of the ingredients lose their vibrant
color. Although they don't look as pretty, they still smell good.
Usually, you can reheat and simmer these again 2-3 times. Jar them up
and refrigerate them between uses. Open the jar and give it the sniff
test--if it still smells good, reheat and reuse it. Add more water as
needed.
 Cost saving tips
You can save, use and reuse a number of fragrant ingredients. These scents don't need to be expensive.
- Leftover ginger -- If you ever cook with fresh ginger and
end up with leftover pieces , this is a way to use them up before they
spoil. Slice the leftover ginger and freeze it in a bag or container to
have on hand for whipping up a quick batch of scented water.
- Save your orange peels -- When you eat an orange, save the
peel for use in scented waters. Store them in the refrigerator or
freezer until you need them.
- Save your juiced lemons and limes -- After you've juiced these for use in a recipe, refrigerate or freeze the leftover pieces.
- Save your leftover herbs -- If you have herbs in a garden
or have leftover herbs that you've purchased for cooking, they can be
frozen and saved for use in these scented waters.
- Use expired juices. If you have fruit juices that are past
their prime, use them as a base in place of the water in these mixtures.
They're both fragrant and colorful.
- Use expired spices. Spices are supposed to be replaced
after a year, because they lose much of their flavor. But, they still
smell good! Instead of throwing out old spices, use them for scenting
water.

There are endless combinations for these scented waters
..
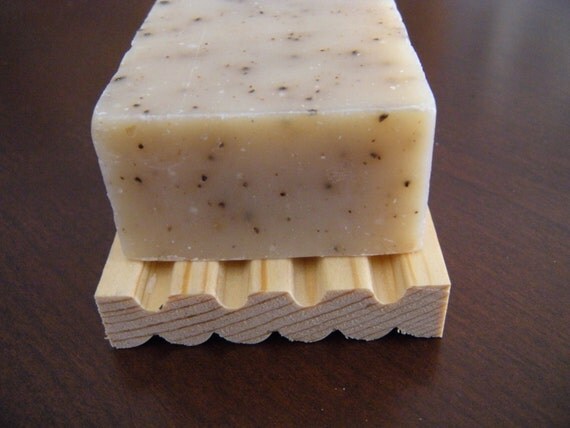
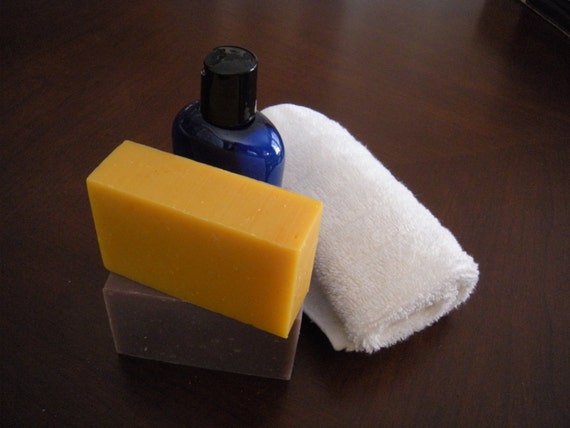
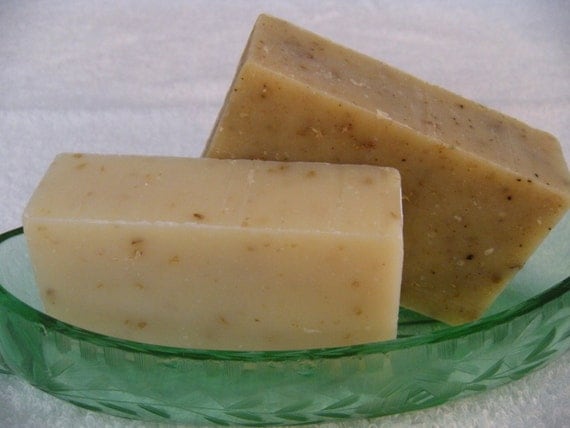 Shea
butter and honey to moisturize plus oatmeal to exfoliate with no added
scents makes this a premium skin care bar for all skin types.
Shea
butter and honey to moisturize plus oatmeal to exfoliate with no added
scents makes this a premium skin care bar for all skin types. 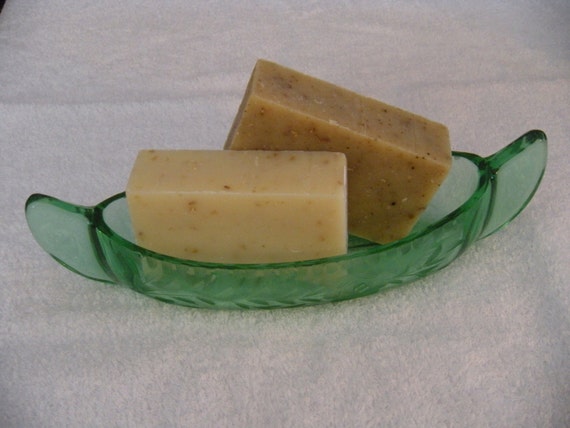



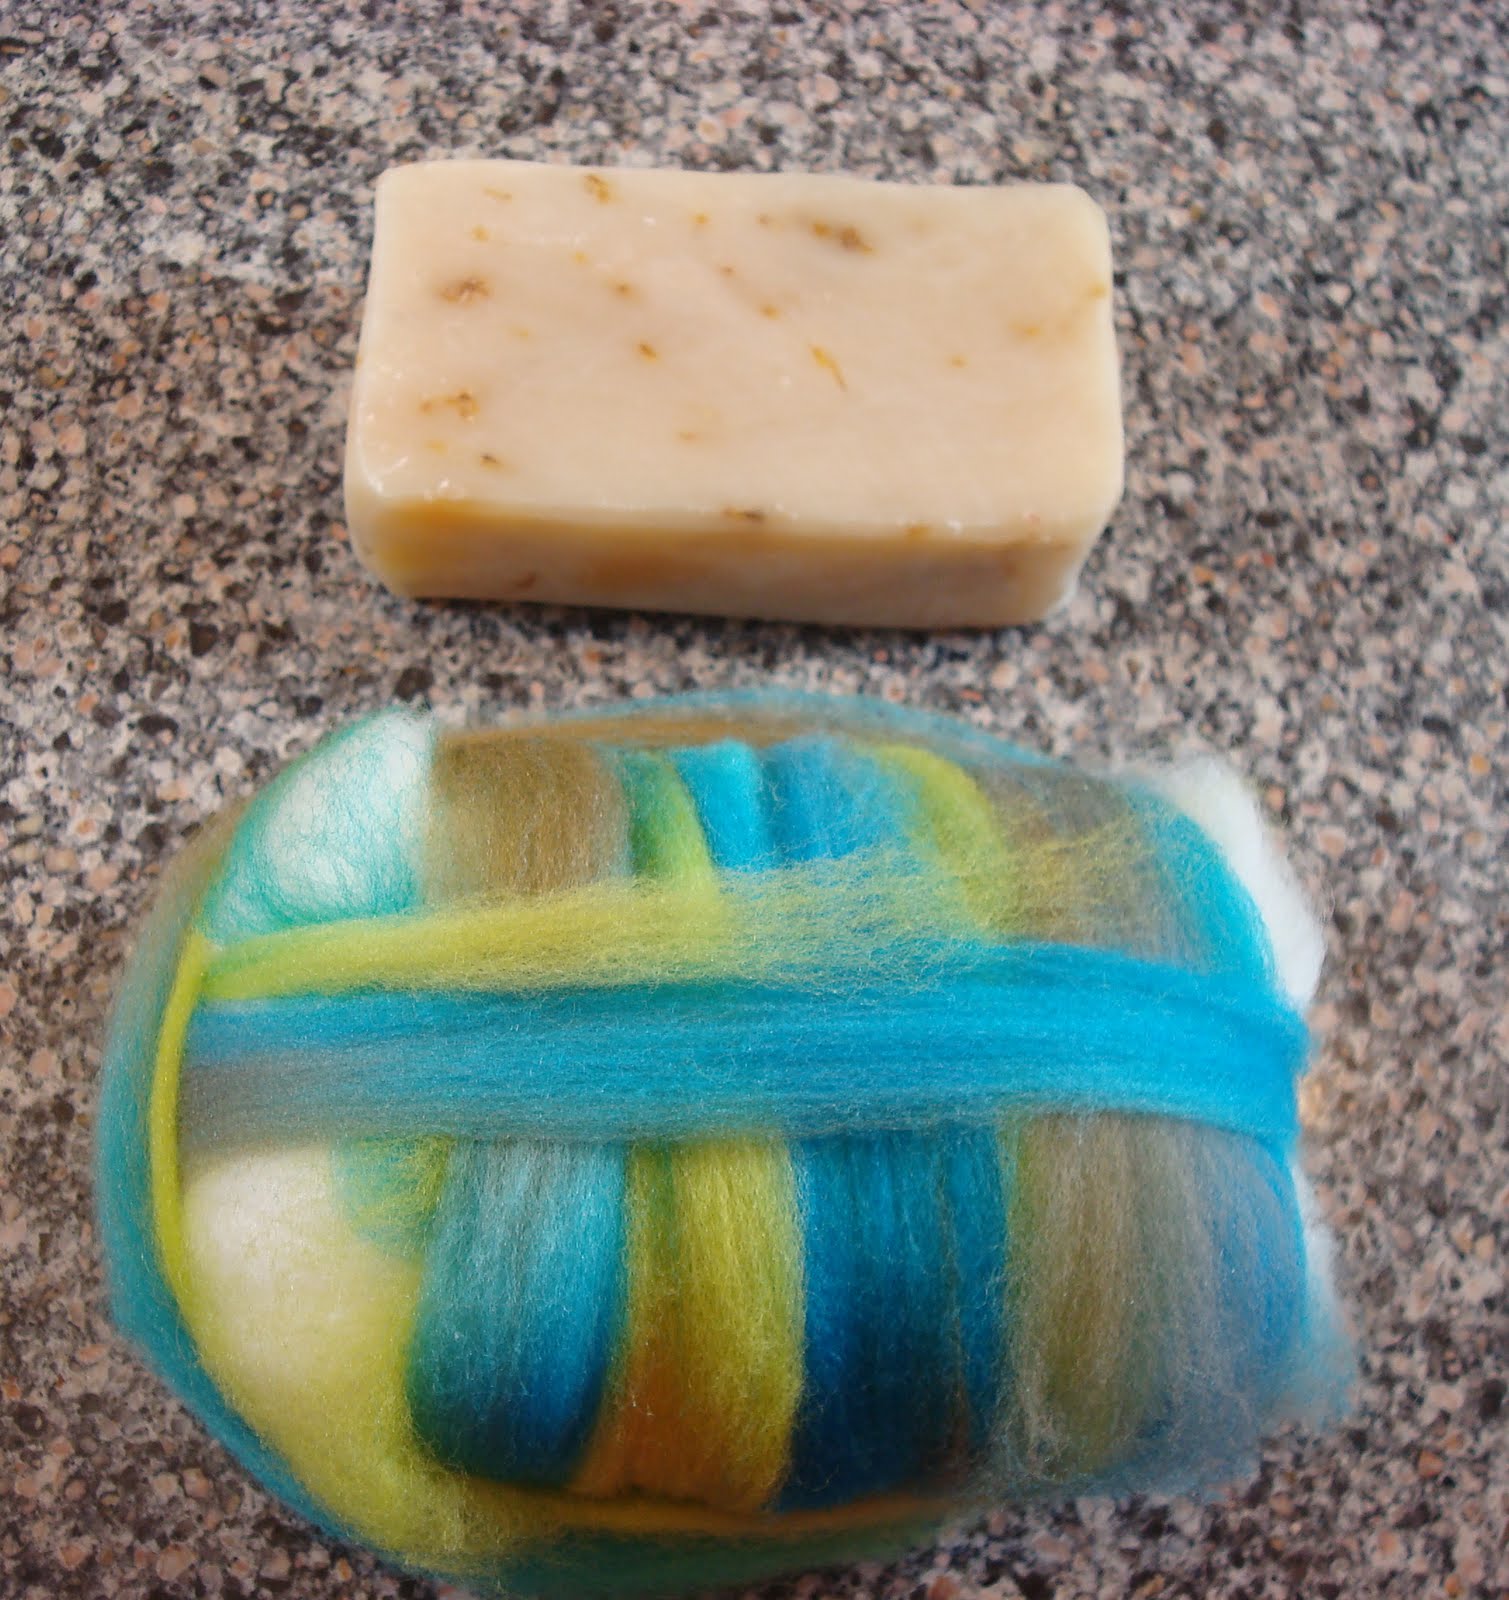


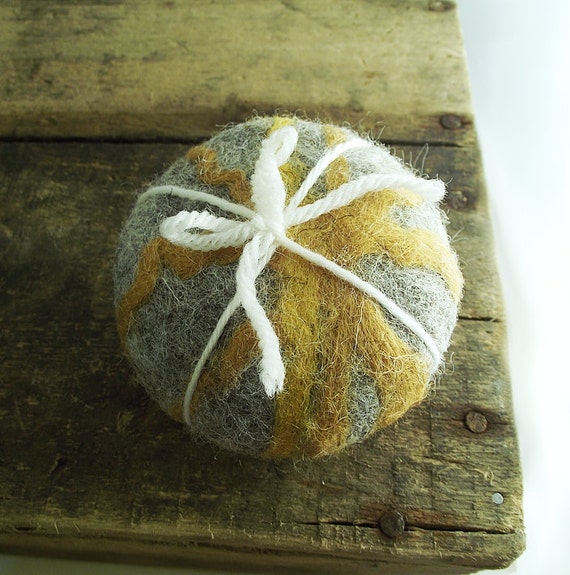
 After every use, make sure to place the soap somewhere where the felt
can dry completely. Apparently, as you use up the soap inside, the wool
continues to felt and shrink, so that you can use every last ounce of
that bar soap without getting soap slime on your hands! When the soap
is all gone, you can cut open the felted pouch and use it for any number
of things-fill it with potpourri, sew it back up and use it as a
scented sachet bag for your drawers. Make it
into a little drawstring bag for your kids’ treasures-the possibilities
are endless! Or, as mentioned above, you can put a new bar of soap in it.
After every use, make sure to place the soap somewhere where the felt
can dry completely. Apparently, as you use up the soap inside, the wool
continues to felt and shrink, so that you can use every last ounce of
that bar soap without getting soap slime on your hands! When the soap
is all gone, you can cut open the felted pouch and use it for any number
of things-fill it with potpourri, sew it back up and use it as a
scented sachet bag for your drawers. Make it
into a little drawstring bag for your kids’ treasures-the possibilities
are endless! Or, as mentioned above, you can put a new bar of soap in it.

